How to Create a Price List Simulation
![]() This page is referring to an old version of Pricefx. For updated information go to How to Create a Price List Simulation in Pricefx.
This page is referring to an old version of Pricefx. For updated information go to How to Create a Price List Simulation in Pricefx.
This example shows a how to create a simulation which uses a new pricing logic.
- Create a pricing logic:
- In Configuration > Calculation Logic > Generic Logic, click the Add icon.
- Fill in Name, Label, Valid After and Status.
- Click the View/Edit icon.

- Set up the calculation logic:
- Create a price element which will always return a value of 1000 (just as a test in this example).
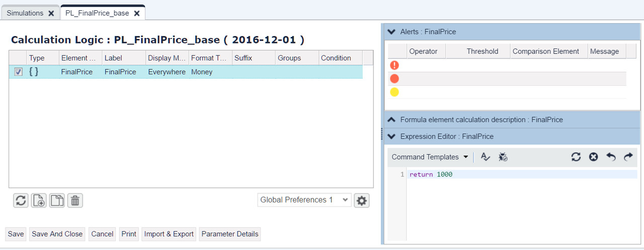
- Create a price element which will always return a value of 1000 (just as a test in this example).
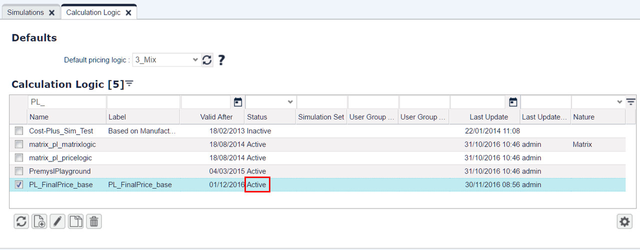
- Activate the pricing logic.
- Create a Price List:
- Go to Price Setting > Price Lists and click the Add icon.
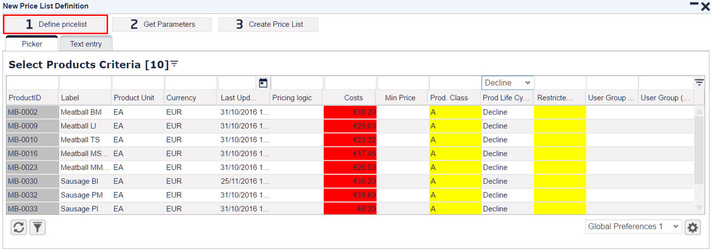
- Select step 1 Define Price List.
- Select products for which you want to generate the Price List. (You may want to use the filter, so that the list of products is not too long for the sample run.)
- Associate the pricing logic with Price List.
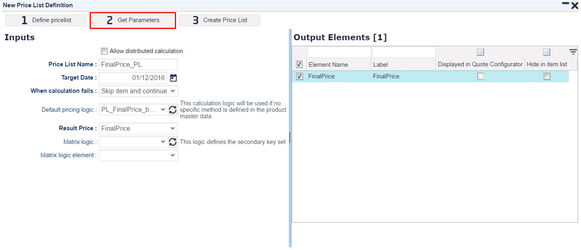
- Click step 2 Get Parameters.
- Fill in Price List Name.
- Select Target Date – the date which will be used for looking up valid parameters. In this case we will take into account a pricing logic valid on Dec 1.
- Select your Pricing Logic. It must be Active.
- Select your Result Price. It will show price elements from your selected pricing logic. Since our pricing logic (PL_FinalPrice_base) has only one element, it is the only one you can select.
- In the Output Elements section, check the FinalPrice checkbox to make the element visible on your generated Price List.
- Click step 3 Create Price List to generate the Price List.
Click the Refresh icon until your Price List has Status set to Ready.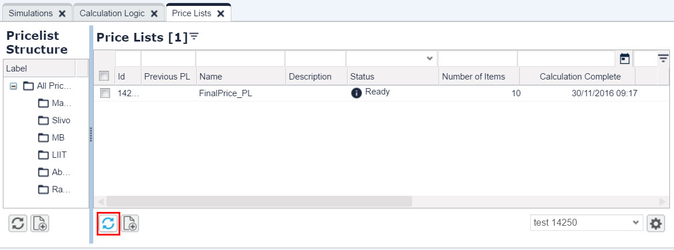
- Check the Result Price:
- Select your Price List and click the Edit icon.
You have a Price List generated with prices generated for your products using your defined pricing logic.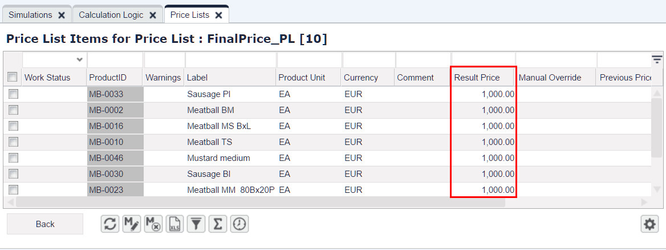
- Select your Price List and click the Edit icon.
- Submit your Price List and make sure it is in the Approved status.
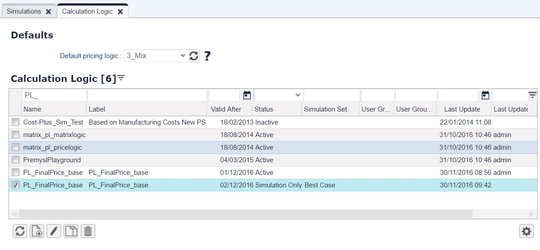
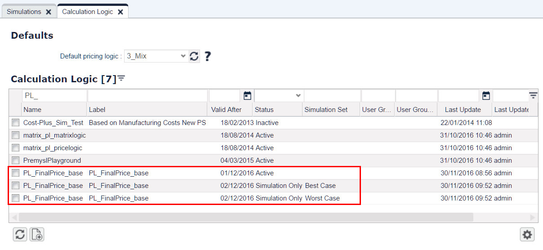
- Create two more pricing logics:
- Set their status as Simulation Only.
- Set the Valid After date for later than the actually valid Calculation Logic.
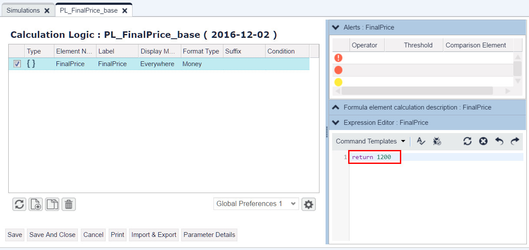
- Edit the pricing logic.
- For each logic change the return value, so that you can easily distinguish which pricing logic was used for generation of the Price List.
- The final setup should look like this:
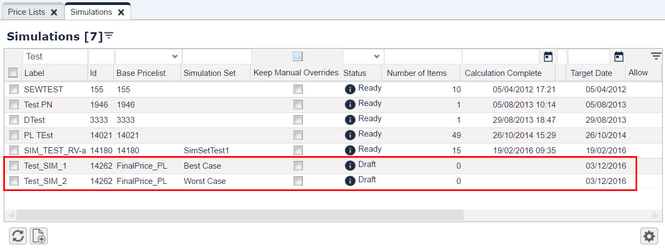
- Go to Price Setting > Price Setting Simulations.
- Create two new Simulations.
- In the Base Price List column, associate your Price List with the simulations.
- In the Simulation Set column, type the labels you have already used for your simulation Price List.
- Set Target Date.
 Be careful about the 'Valid After' date of both your active pricing logic and simulation pricing logic! The priorities are:
 - Latest Valid After date (i.e., if the date for simulation logic is sooner, it will not be taken into account when generating the simulation Price List, it would take the active one).
- If the Valid After dates are the same for active and simulation logics, then again the active one is used.
- If there is Simulation Set name set for the simulation pricing logic, then this one is used.
- Generate you Price List with associated simulation logic:
- Select your simulation and click the Calculate
icon.
- Keep refreshing until the status is Ready.
- Select your simulation and click the Calculate
- Check the Result Price of the new (simulation) pricing logic:
- Click the View/Edit icon to view the result price after applying a new (simulation) logic.

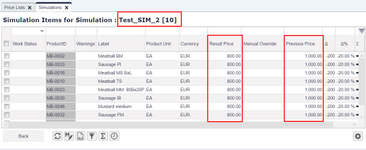
- Click the View/Edit icon to view the result price after applying a new (simulation) logic.
See also how to create Price List simulations in Pricefx.
Found an issue in documentation? Write to us.