When you need to import data manually, you can use Excel Client. It allows you to import data to most of the data tables.
In this tutorial you will learn how to upload data into the product master table, but the principle is the same for the other tables too.
Note: Excel Client is a tool written in MS Visual Basic using macros. It is available as a downloadable Excel sheet from the Pricefx menu Master Data. It works only on the desktop version of MS Excel for Windows (Mac is not supported).
The destination table for the data will be a configured Product master table.

Before you use Excel Client, ensure that your destination table has at least one record. If the table is empty, add one “dummy” record to the table. This is important, otherwise Excel Client will not be able to properly read metadata.
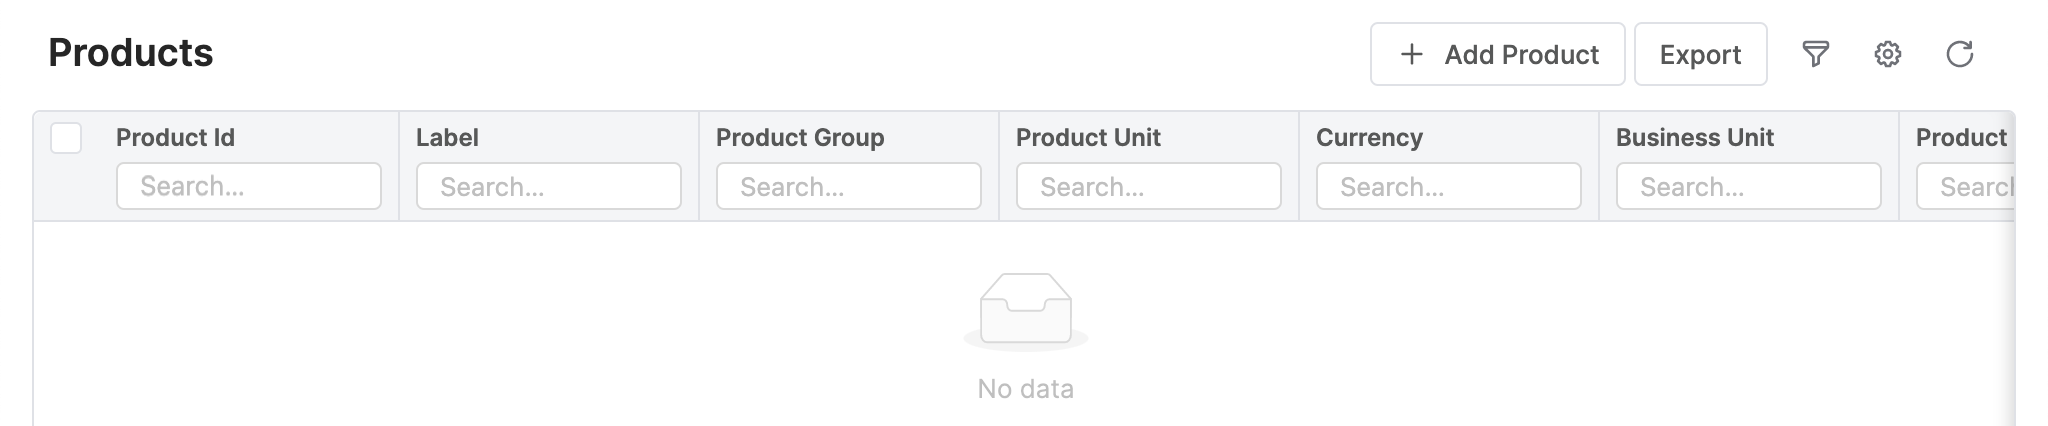
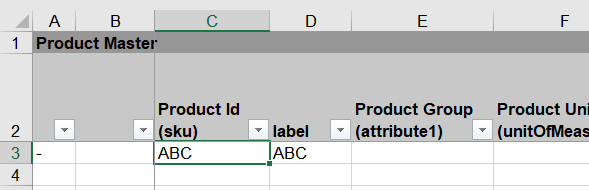
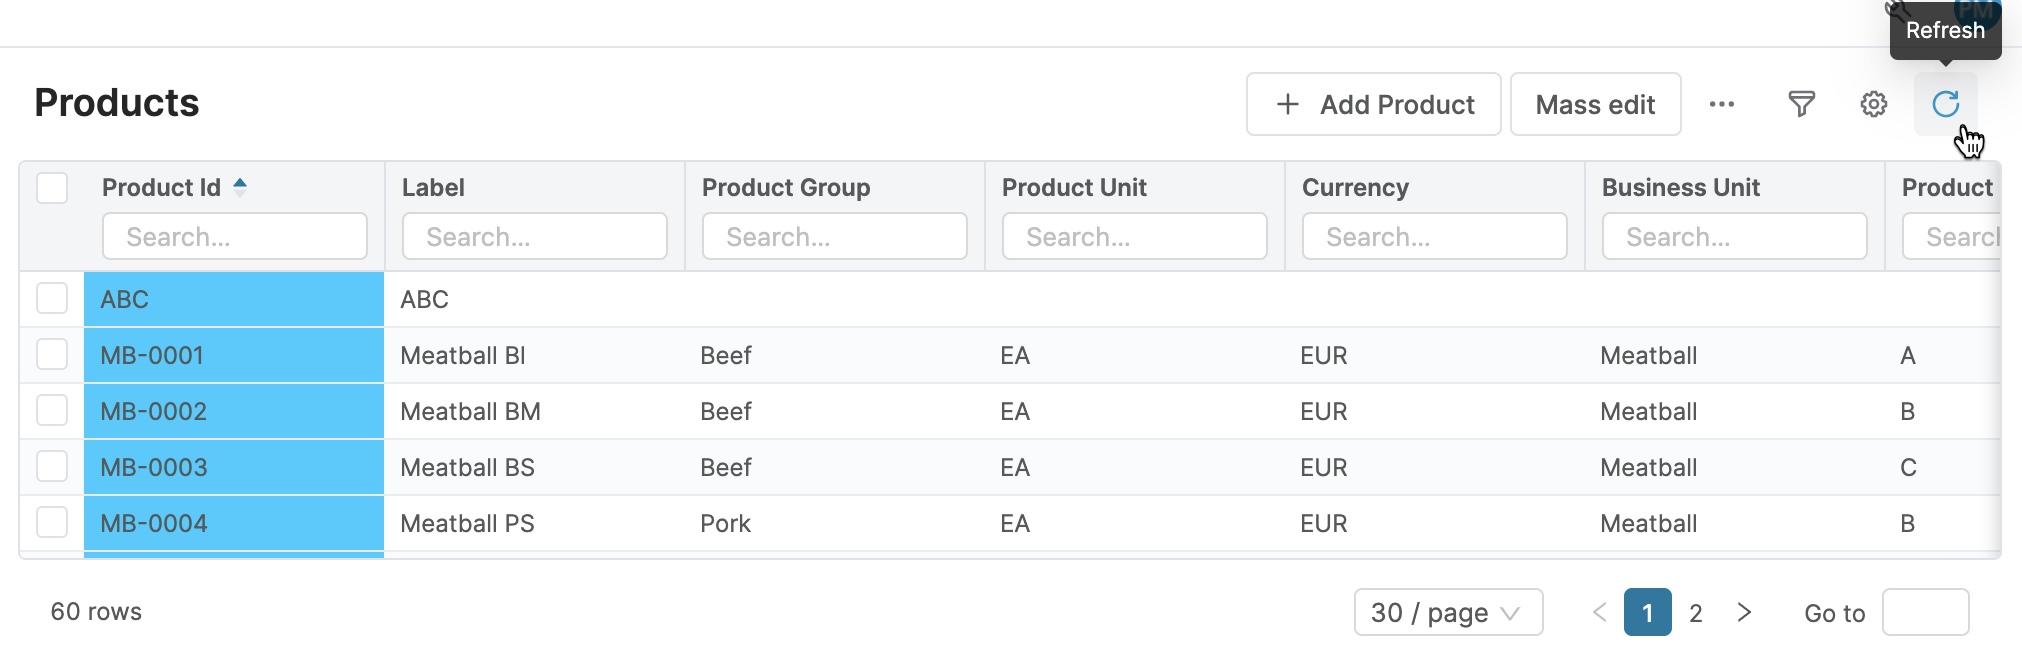
Here, we created the product ABC:


To download Excel Client, navigate to .
Open the downloaded PriceFxClient.xlsm file.

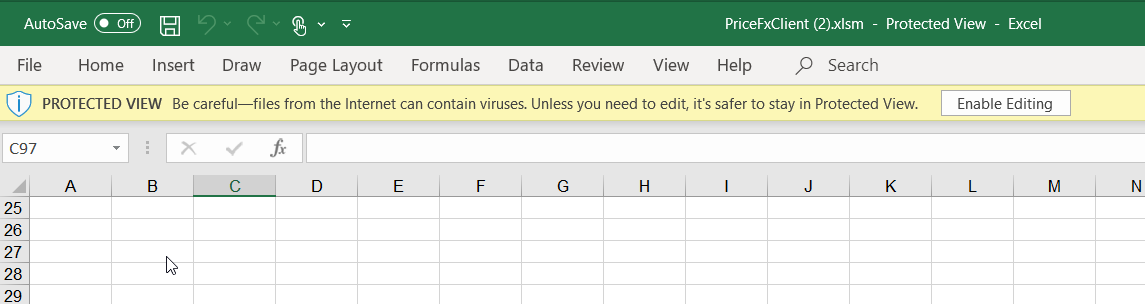
When asked, click the Enable Editing button.
When asked, click on the Enable Content button.
Then the client will log in to the backend automatically. This can take a couple of seconds. It is possible to log in automatically, because the Excel Client file is downloaded including an access token. Note that this token expires after some time, so if you try to open the XLSM file later, it will require login information. It is usually the easiest to simply always download Excel Client again.
Once Excel Client logs into the partition, it will show a message:

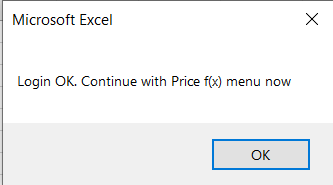
Click OK.
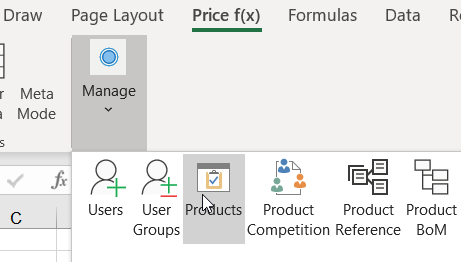
From the Pricefx menu, click the Products button.

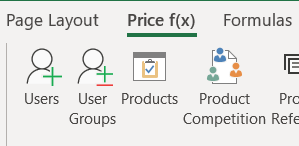
Note: If your Excel window is NOT maximized, the Price f(x) ribbon might look different, and you may need to navigate this way .

A dialog opens.

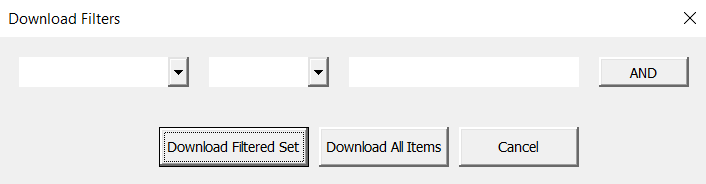
If you only have the dummy row in the table, or only a small amount of data, click Download All Items. If you have thousands of products already and you only want to upload some additional ones, then set up a filter and use Download Filtered Set.
View the result.

Paste your new data into this Excel Client sheet. Ensure you paste the data into proper columns because it is highly likely that your data file has columns in different order than in Excel Client. Note that for columns ordering Excel Client uses the same Preferences which are used by the user interface when you open the Product master page.

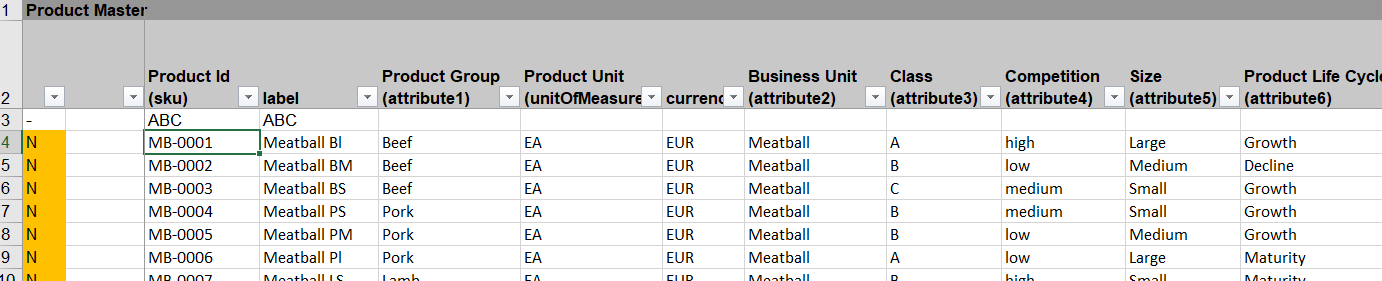
Note: The “N” flag means that those rows will be uploaded to the Pricefx partition as new data.
From the Excel Client sheet, click the Price f(x) menu.
From the Excel toolbar, click the Update Server button. Click OK.
After the upload is done, return to the Products master table in the Pricefx application.
Click the Refresh button to force the user interface to reload the data from the backend.

Examine the rows appended to the Products master table. Compare sample rows from the Excel sheet to verify that the product data was uploaded successfully to the Products master table.
Delete the dummy row if you have created it. You will not need it anymore.